Less bought into limelight but the all new File History option in Windows 8 has absolute advantages. You can call it the Time Machine of Apple that lets you backup the file (s) and folder (s) at the backend and restore it through the time based interface. What is missing in Windows is the intergalactic eye-pleasing interface.
So, Microsoft introduced the refinement of Windows backup feature that was available Win7-The File History option that gives the opportunity of taking automatic backup of files and folders into external hard drive or network drive. It is meant for the Windows library documents, videos, photos, music files, contacts and the Favorites.
There was a limitation with the Windows backup as there was daily, weekly and monthly backup option available while on the other hand; File History allows making incremental backup of multiple versions of a file or document. So, if a file is deleted accidently, it can be restored from its multiple saved versions. By default, an hourly backup of files and documents is created and this frequency can be changed from something 10 minutes to day backup. Also, there is provision to assign a time span for which you want the previous version of file to exist.
How to Configure File History Feature?
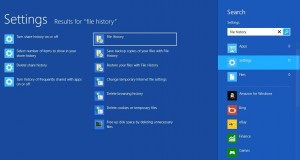
Step1) Go to Control Panel and under System and Security section, chose File History.
Step2) If any external hard drive is connected with the system, File History will automatically detect it. However, the Select Drive option can be selected to choose a different location. Then, click on ‘Turn On’ button.
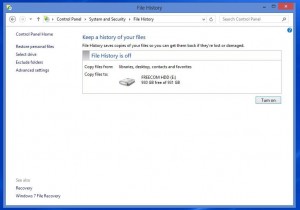
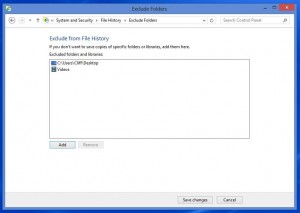
Step3) A backup of selected documents will be created and if some folders have to be eliminated from backup process, ‘Exclude Folders’ option is here for help.
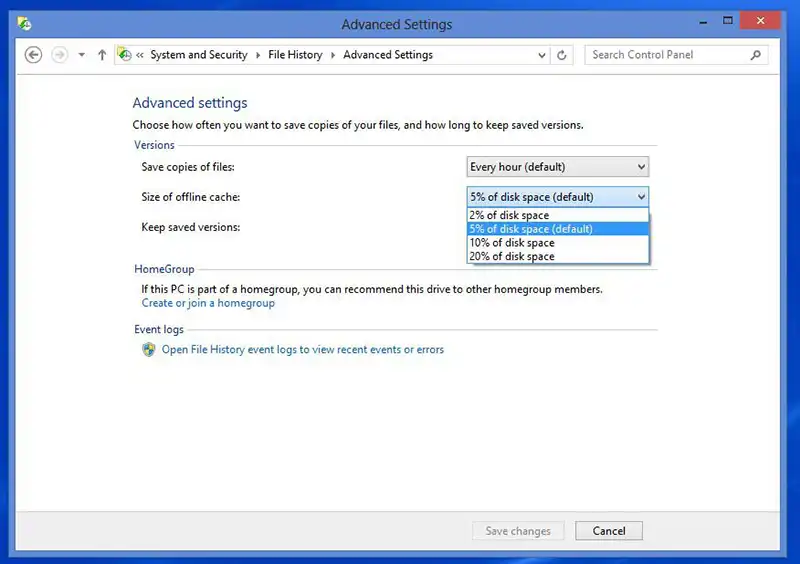
Step4) There is option to customize the File History process using ‘Advance Settings’ option. By default, backup after every hour is taken which can be modified from 10 minutes to 24 hours.

Step5) With the help of ‘Offline Cache’ option, the amount of disk-space to be utilized for backup can be defined.
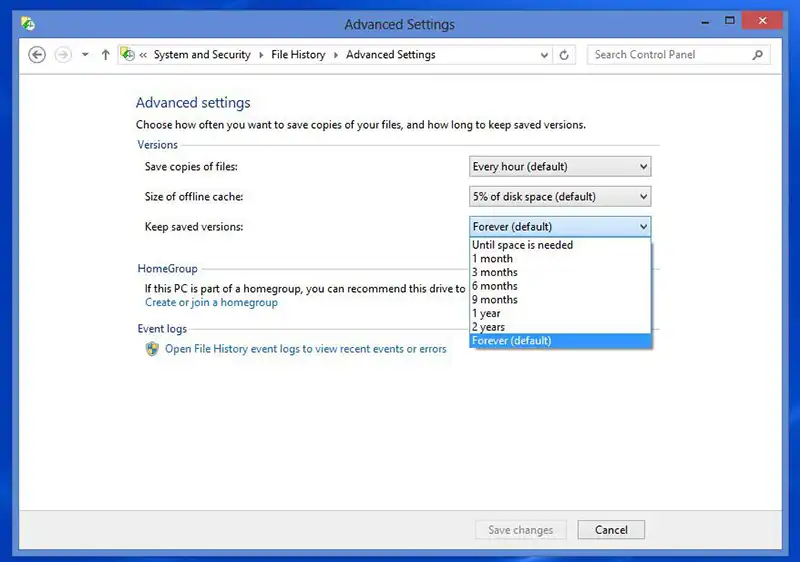
Step6) There is option to define the time period for which you wish to keep the old versions of file. They can be kept for months, years or forever. Chose ‘Until Space is Needed’ option if space has to be created for backup-drive for new file backup.
How To Restore File History Backup?
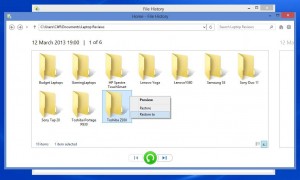
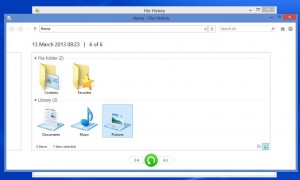
Step1) Click on ‘Restore Personal Files’ option at the left-side of the panel and then click on Green button at the bottom.
Step2) If you select and right-click on a folder, two options will be available:
Restore: Previous version will be replaced with current version.
Restore To: Restore previous version of file at a different location while keeping the current version absolutely intact.