

It is quite easy to reset boot priorities of your system. Simply follow the steps listed below and know the steps to reset boot priority.
Step 1: Restart Computer and Check Out BIOS Settings
The process to change the order of booting for external and internal drives is quite simple if followed properly. With the help of BIOS utility you can set the priority order of all the devices.
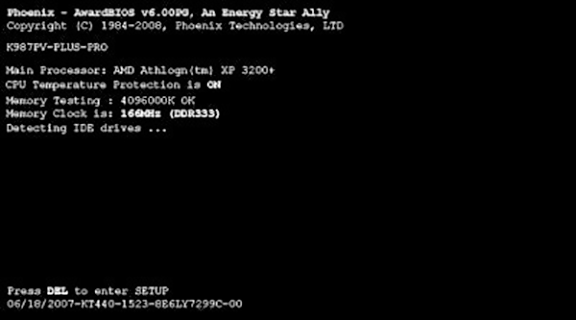
Need to open the system, as the system turns on press F2 or Del for setup, try to enter the as soon you can.
Note: BIOS settings help to manage boot order and BIOS system is not dependent on Operating System’s functions so, given procedure is applicable for all the Windows systems.
Step 2: The BIOS Set Up Wizard
BIOS utility of your computer may look like that or you can get the different appearance. You do not need to get worried about how it appears; it will display the settings for different drives of the computer.
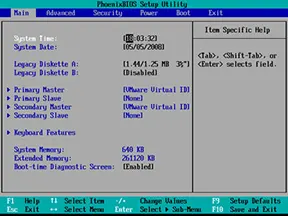
Within BIOS, the horizontal menu at the top is added with different options. Grey screen includes the hardware options along with directions to move within the BIOS. At the end, at bottom you can get more options to make changes.
Under this window you can locate the new boot order for your devices.
Step 3: Locate Boot Order According To Your Relevance
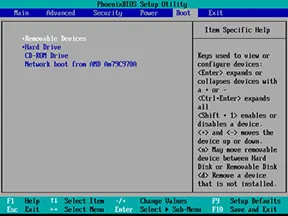
Click on Boot Tab from top most menu -> get a list of all the devices which can go through boot order and be sure these can be discovered by motherboard
The above mentioned image shows that your system will first boot recoverable devices then, hard drive and then CD-Rom. Afterwards it will perform network boot
For overlapping a device to boot it first, you need to use +or – button, different OS can explore other instructions for changing boot order
Step 4: Alter The Boot Order
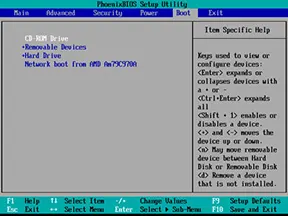
As shown in image you can shift CD-ROM drive at first position for booting and Removable devices are shifted to second place. In this way you have permitted BIOS to search a boot-able CD before executing boot operation for external or removable devices.
You can set the order as you want and save the setting before exit.
Step 5: Save Settings Properly
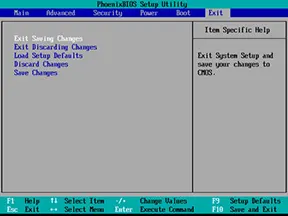
Move to exit tab and save the boot order, otherwise the new boot order will not be executable while you restart the computer.
Exit Saving Changes, the first option within Exit tab will be the one you need to use.
Step 6: Make Sure You Want To Save The Changes
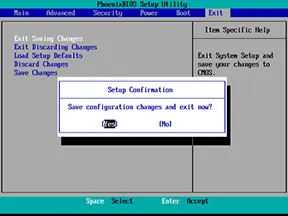
A pop up message you will see at the screen displaying “Save Configuration changes and exit now”, click on Yes if you are sure that you want to go with new boot order.
Note: Most of the times, the prompted message will not be same. You may see a message that includes lots of words, this may mislead you. Never quit the screen until you saved the changes.
Step 7: Restart Computer, It Will Run The New Boot Settings

Restart the computer and you will see that your system is now trying to find the CD for boot, if CD is not boot-able then it will move to find the next disk for boot operation. The boot order will execute according to the priorities you have settled into boot options.