

OST file is nothing but the local copy of user’s mailbox data in Exchange Server. The OST file allows you to work offline when connection to Exchange Server is not possible and synchronize with Exchange Server when connection is established.
Why Do We Need to Rename OST File?
We can fix some issues encountered with MS Outlook by recreating or renaming the OST file. Following are some issues of MS Outlook which can be fixed by recreating OST files.
- When MS Outlook shows disconnected
- When Outlook Freezes
- Email not sent and receive because mailbox size does not exceed
- Outlook calendar is not displaying the information such as Free or Busy information,
- Corruption of OST files, etc.
Thus renaming of OST file act as effective trouble shooting when aforementioned issues occurs with MS Outlook.
How to Rename OST file?
By following below mentioned steps, you can create a new copy of your OST file any time.
-
- Exit MS Outlook
- Click on Start and then Click on Control Panel
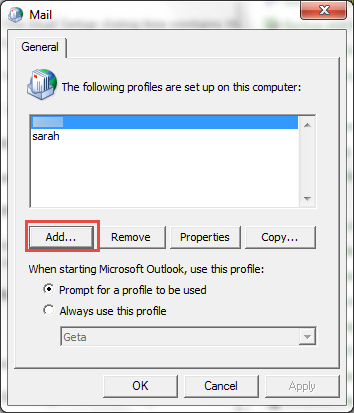
- Click on Mail and then Click on Show Profiles
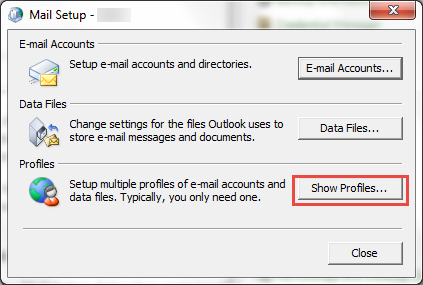
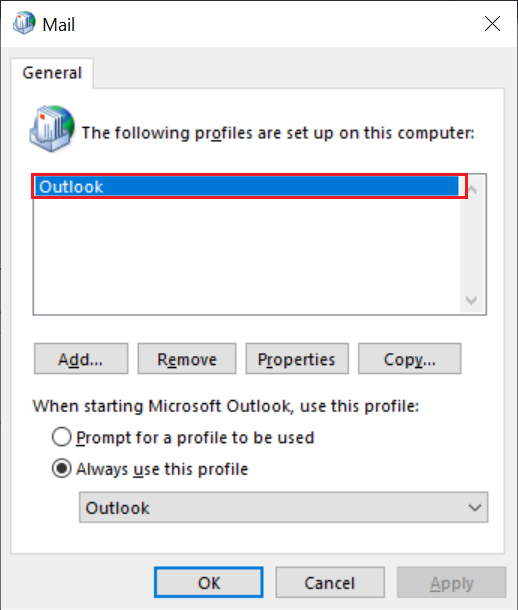
- In Mail window, select the Profile name and then Click on Properties.
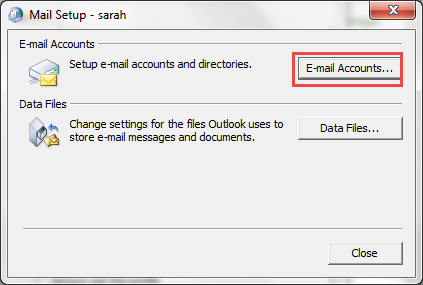
- Click on Email Accounts.
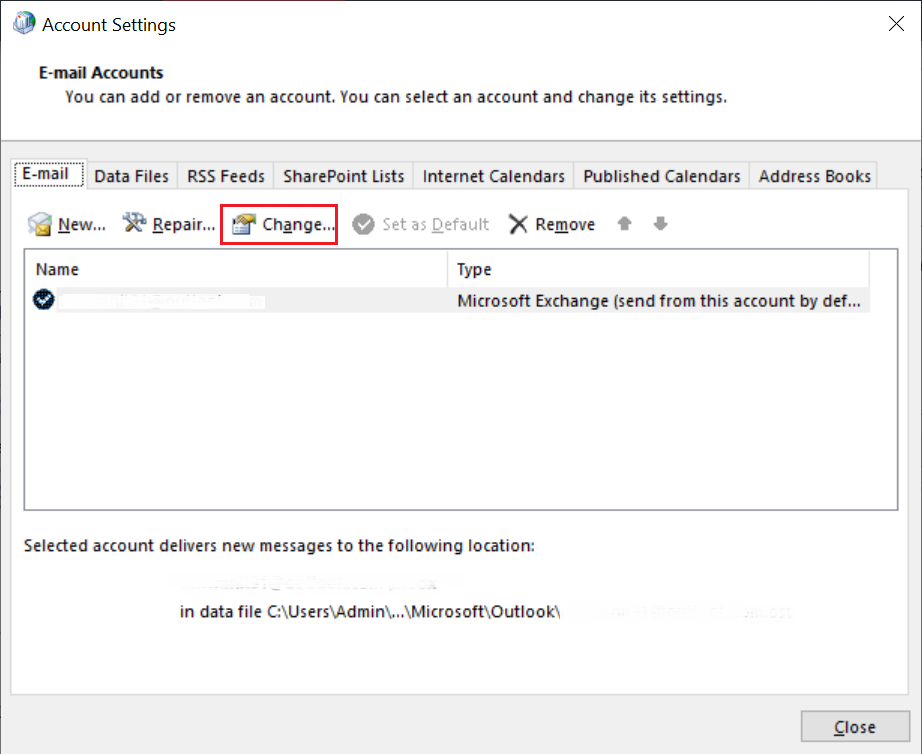
- Choose Exchange account and then click on Change.
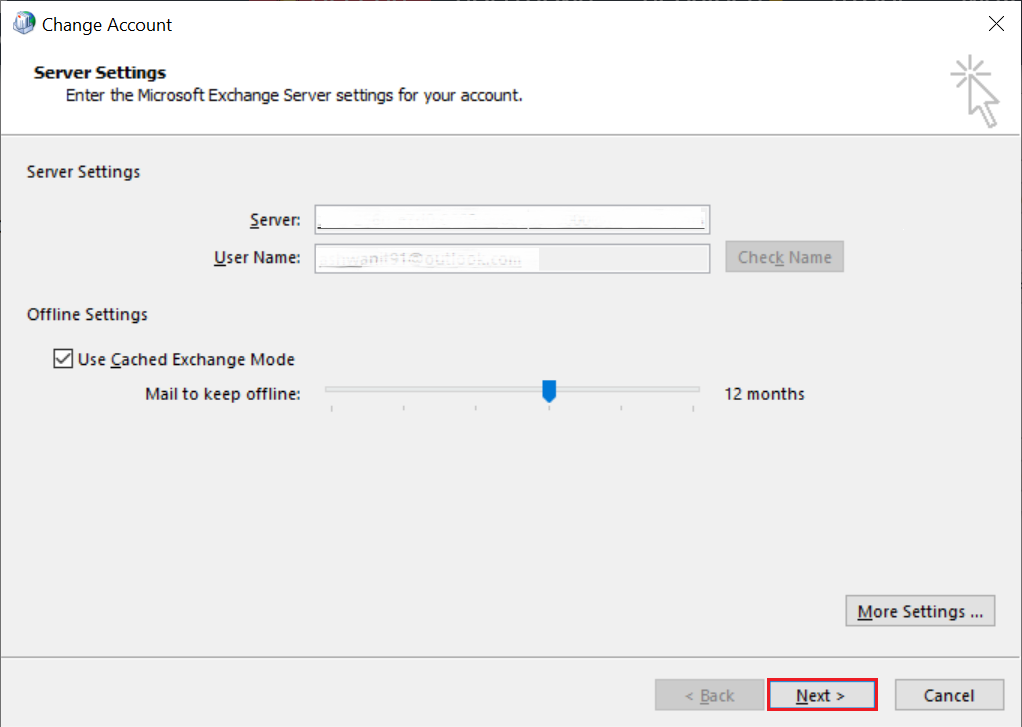
- Type Server IP address and your Profile ID and then click on More Settings.
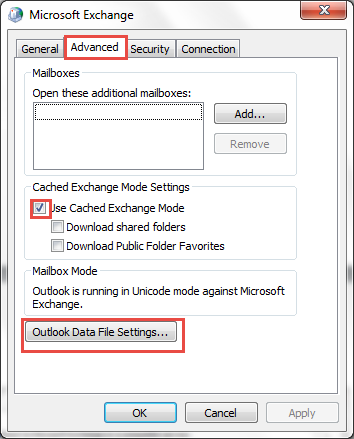
- Click on Advance tab and then clear Use Cached Exchange Mode.
- Click on Outlook data file settings
- Click on Disable Offline use, a dialog box appears Click on Yes on that dialog box. If Disable Offline Use option is disable it means Use Cached Exchange Mode Checkbox was not cleared previous step.
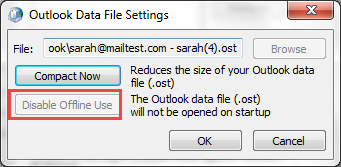
- Click on Offline Folder File settings again and then Click on OK.
- Select Use Cached Exchange Mode checkbox in Cached Exchange Mode Settings.
- Click on OK, Click on Next and then Click on Finish.
- Now, click on Close in Account Settings and Mail Setup dialog box.
If your Outlook issues will not resolved by this method then you can try the following method to rebuild the OST file.
Rebuild OST file Outlook 2013 and 2010
In this method first you need to delete the OST file and then recreate it.
Deleting an OST file
You can follow below mentioned steps to delete your OST file.
- Close MS Outlook
- Go to the Default location where MS Outlook saves OST file. In MS Outlook 2013 or 2010 default location will be C:\Users\Computer Login ID \AppData\Local\Microsoft\Outlook.
- List of Outlook files will appear
- Right click on the OST file which needs to be deleted and then click on delete
Recreate and Rename OST file Outlook 2013 and 2010
After deleting OST file, you need to recreate and rename the OST file. You can follow below mentioned steps to recreate OST file.
-
- Click on Control Panel and then Click on Mail
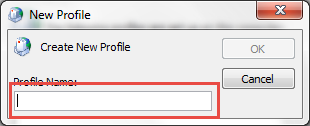
- Click on Show Profiles and then Click on Add
- Type your new Profile name and then Click on OK.
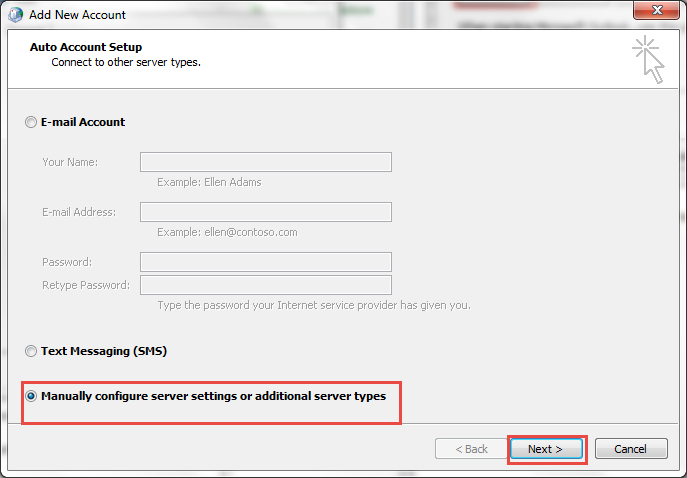
- Click on manually configure server Settings or additional server types and then click on Next.
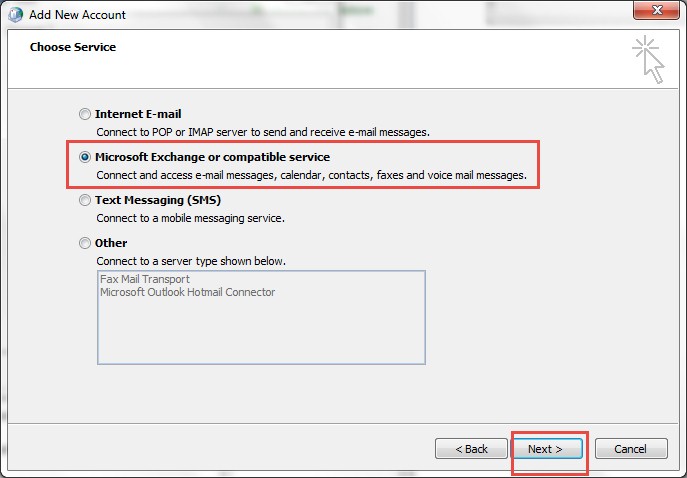
- Select Microsoft Exchange or compatible service and then Click on Next.
- Type IP address of your Exchange Server and your user name. Make a check on Use Cached Exchange Mode.
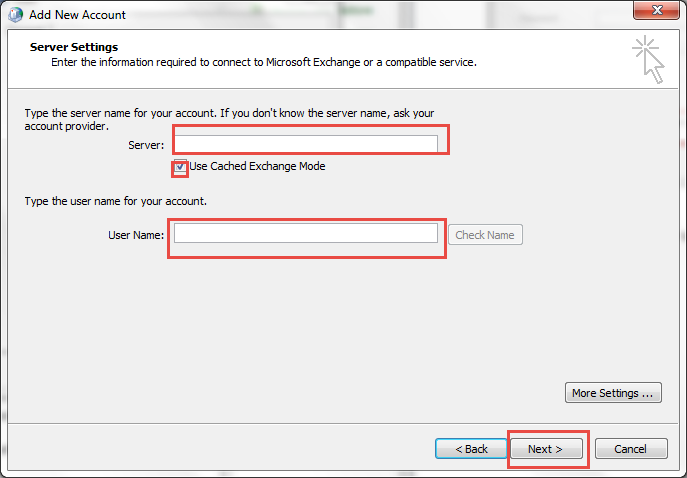
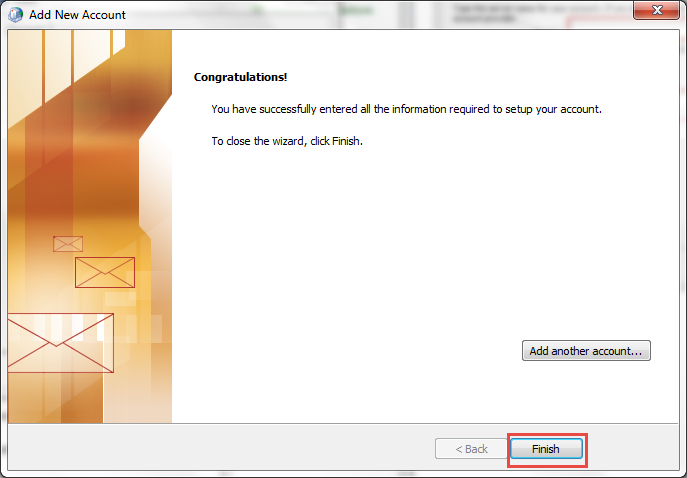
- Now, Click on Finish.
Now you can Open your account in MS Outlook.
Conclusion
These were the steps for recreating OST files. Hope this blog will help you to fix some MS Outlook issues related to OST file. If you find the steps too much time consuming then you can proceed with the simplest conversion process of OST file to PST.


What an outstanding viewpoint, thanks