How to Open PST file in Office 365 Cloud Environment


Multiple users complain that they don’t know how to Open PST file in Office 365 cloud. Their complaint is genuine as no import/upload/opening mechanism in any of the M365 apps that can extract the data from PST and put it inside Microsoft accounts for future use. So many users are stuck in limbo not knowing how to proceed with these essential steps in this on-premise to cloud transition.
Table of Contents
Moreover, it does not help that PST files have a tendency to corrupt. So longer they are kept out, the higher the chance that this might happen. So without further ado let us start with the most straightforward way that can be applied in individual account situations.
Default Way of Opening PST file in Office 365 via Classic Outlook Client
First Connect your Microsoft 365 Account in Legacy Outlook
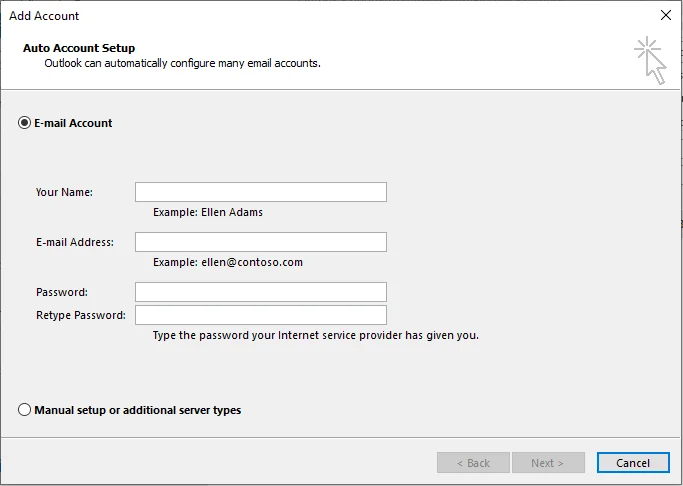
- Open Outlook and go to File > Add Account.
- Enter your email address and select Connect.
- When prompted, enter:
- Name
- Email address
- Password
- Press Finish.
Then Use the Client’s Inbuilt Method to Deposit PST
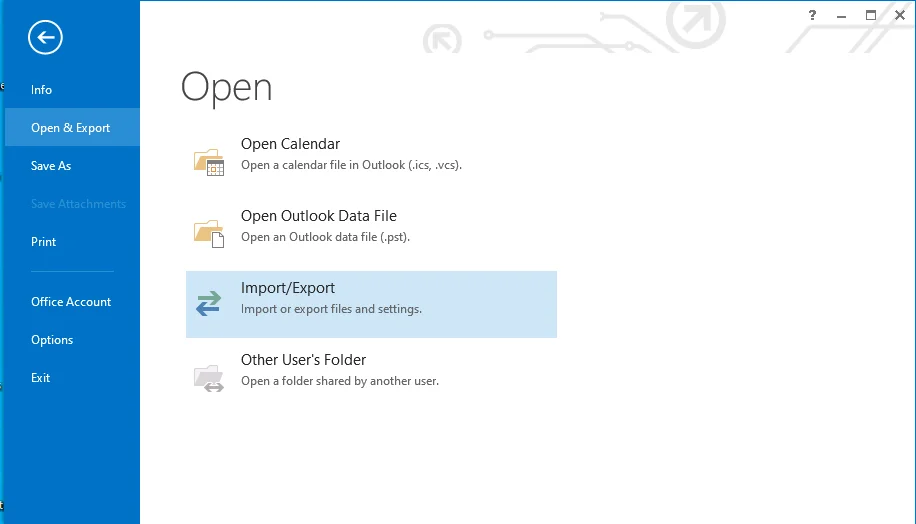
- Go to File
- Click on Open & Export
- Tap Import/Export
- Stay with the default “Import from another program or file” selection and press Next.
- Select the Outlook Data File(.pst) option.
- Browse for Files, Select “Allow Duplicates …” Press Next.
- Include Subfolders if you want to.
- Using the ratio button titled ‘Import items into the same folder’ select your Office 365 account At last hit Finish.
Finally, Log into the Office 365 Portal
- Login to Outlook.com (on M365 Portal)
- Open the Folder where you put the PST earlier.
- See the contents to check their validity.
Admins need to repeat all the steps for each user or ask the users to perform at their own pace. Considering Microsoft 365 Email is secure to use when compared to regular PST files, there is a urgent need to open all PST in Office 365. People may try to drag and drop PST into Office 365 but its not really possible. Let’s see why.
Why You Can’t Open PST file in Office 365 Using Drag and Drop?
Some users might wonder why take such a long route if they can simply drag and drop PST onto the Outlook client containing the Office 365 account. This sounds good in theory, but when we attempt the task, all sorts of problems prop up.
New Outlook users can forget about it as this ability has been removed in its entirety. When they try to put a PST in new Outlook, a prohibition sign forms in the bottom right corner of the file. After a few tries, the prohibition sign disappears and instead you see a + Copy icon. However, don’t be fooled; as soon as you release the cursor, one of two things will happen. Either nothing changes or a new window opens which downloads the same PST on your machine.
![]()
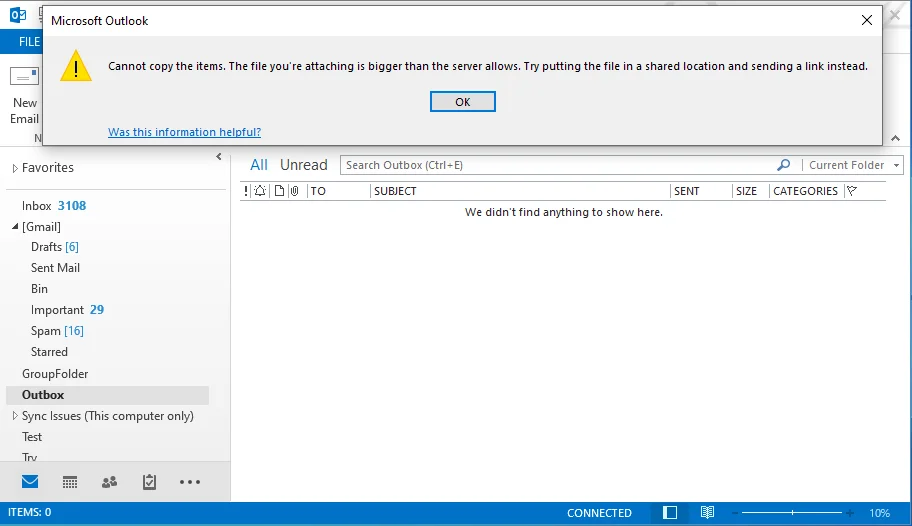
The Outlook web version is no different. Even the classic variant shows no positive outcomes. One of the first problems is Outlook outright denies the entry of any drag-and-drop items larger than a few MB. So this seemingly easy way out won’t work if your PST is too large.
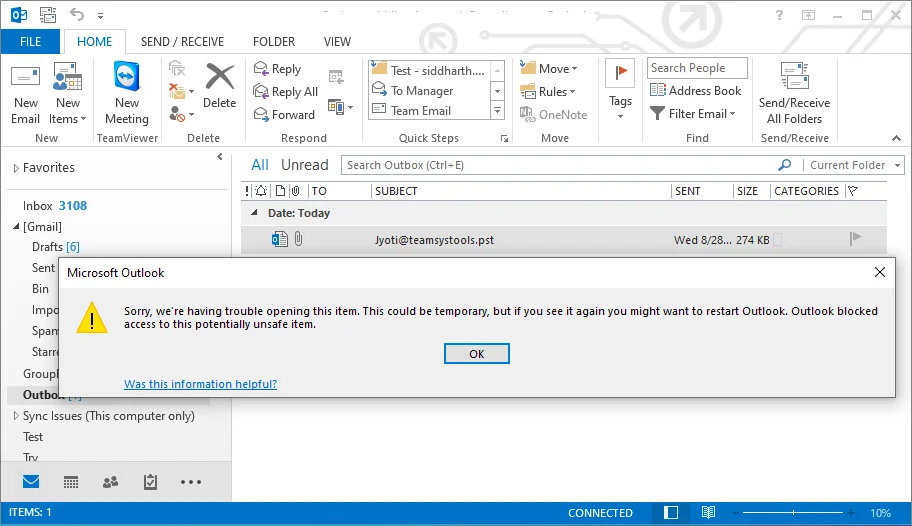
If somehow you manage to split a PST/shrink it and deposit it in the Outlook client you still won’t be able to open it due to safety concerns. The Outlook security feature that prevents external agents from depositing malicious files is now preventing the users themselves from getting the work done.
There is no way to make clients secure against bad guys and at the same time allow regular users unrestricted access. Microsoft had to compromise either feature or security, and they chose the former rightly so.
The warning Outlook gives you also suggests closing and reopening the app. However, truth be told this does nothing to change the ground reality. The PST that is added inorganically remains inaccessible.
Manual Work Arounds for Mass PST Opening in Microsoft 365
When we refer to bulk PST we are in fact talking about a large number of PST belonging to multiple users, rather than a single one. Moreover, this is a common occurrence in organizations transitioning from an on-premise setup to the cloud. Microsoft is aware of the requirement and therefore provides two separate routes to get the PST on the cloud.
Prerequisites:
- Assign necessary roles: Mailbox Import Export and Mail Recipients (Both)
- Use the AzCopy tool for uploading PST files (Net-Up)
- Keep PST files under 20 GB each (Both)
- Store PST files on a file server or shared folder (Drive-Ship)
- Use a compatible hard drive (2.5-inch solid-state drive or 2.5-inch or 3.5-inch SATA II/III internal hard drive) (Drive-Ship)
- Encrypt the hard drive with BitLocker (Drive-Ship)
Ship a PST Filled Drive to Microsoft and then Open it
- Get PST Files, & Create Mapping
- Prepare PST files and copy them to a hard drive
- Create a PST Import mapping file (CSV file) to specify which user mailboxes the PST files will be imported to.
- Create PST Import Job in Office 365
- Go Microsoft Purview compliance portal and sign in as an administrator
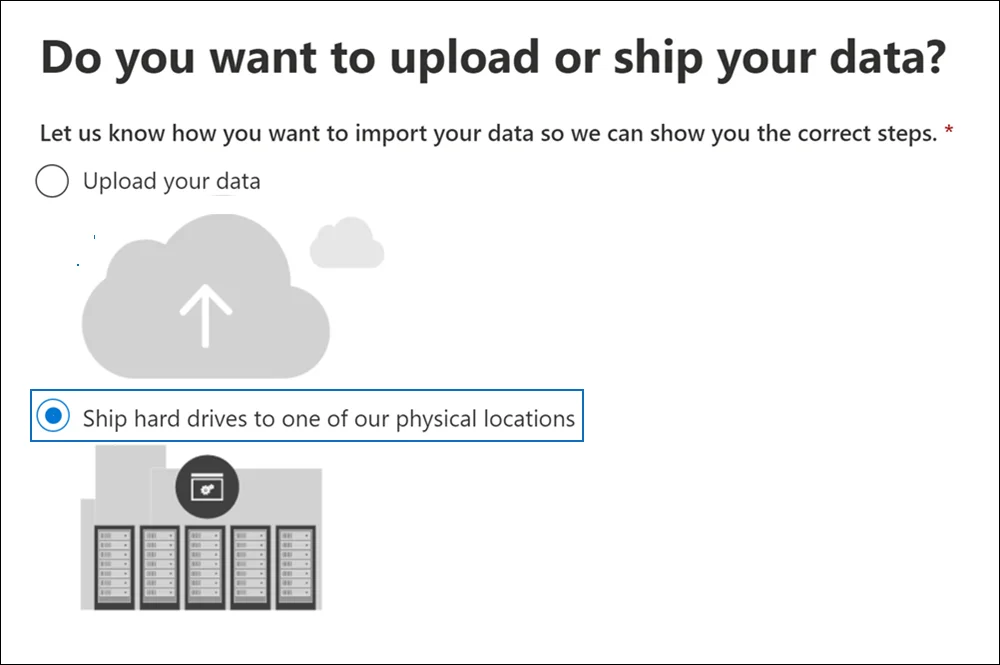
- Create a new import job and select “Ship hard drives to one of our physical locations”
- Then, upload the journal file and PST Import mapping file
- Validate files and provide contact information
- Ship Hard Drive to Microsoft
- Ship hard drive to Microsoft location specified in the import job
- Provide tracking number and return shipment information within 14 days
- Filter Data and Start PST Import Job
- After the hard drive is received, the status will change to “Drives received” and then “Import in progress”
- Data center personnel will upload PST files to the Azure Storage area (takes 7-10 business days)
- The status will change to “Analysis in progress” and then “Analysis completed”
- Filter data to import or import all data as it is
- Start the import job and monitor the status on the Import PST files page
Add the PST using a Network Upload for Opening it in the Cloud
- Get SAS URL and AzCopy:
- Go to compliance.microsoft.com > Data lifecycle management > Import
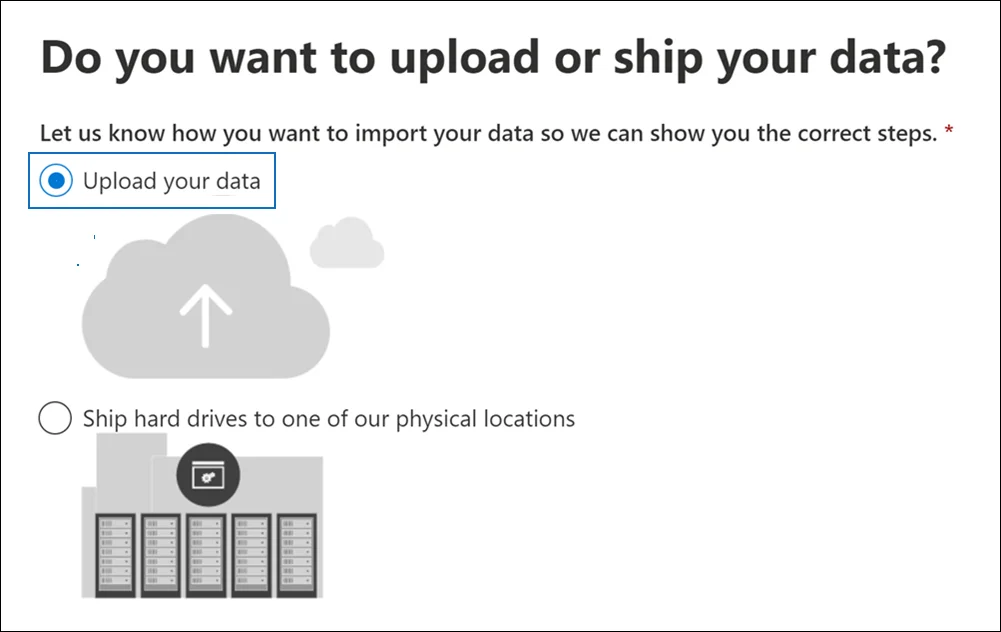
- Create a new import job, choose “Upload your data”
- Copy the SAS URL and download the AzCopy tool
- Upload PST files:
- Use the AzCopy command to upload files to Azure Storage
- Example: azcopy.exe copy “source” “SAS URL”
- Create mapping file:
- Use CSV format with required fields (Workload, FilePath, Name, Mailbox, IsArchive, TargetRootFolder)
- One row per PST file, a maximum of 500 rows
- Create import job:
- Go to compliance portal > Import
- Create a new job, upload the mapping file
- Validate the mapping file
- Filter and start import:
- Choose to filter data or import everything
- Start the import job
Despite claims of efficiency, many users have complained about delays in drive shipping and the complexity of network upload. Therefore, instead, users/admins can get help from a professional alternative and skip this manual mayhem entirely.
How to Open PST file in Office 365 with a Complete Solution?
The SysTools Office 365 Import tool is the solution that allows easy opening of all PST data in the respective Office 365 account. It comes with an intuitive interface and removes all technical hurdles present in previously described processes.
After the first run, if any items are missing or new previously unknown PST files are found the tool can smartly detect such scenarios and retry failed, or perform a delta run. It is also possible to redo the entire project again. Moreover, admins can access the two different report types (overall summary and detailed user level) to document the activity for their organization’s records.
Here is the list of steps to perform via this tool which you can use to put the PST in Office 365 and open them whenever you want.
- Open Tool and Select End Points as Outlook (for PST) and Office 365 (for Microsoft 365).
- Select the Workloads (Email, Contacts, Calendars) and Apply Date Filter.
- Browse for the Source PST file stored on your Local Workstation and Validate.
- Perform Admin Credential Validation for Destination Office 365 accounts.
- Map users by direct Fetch, Import a premade CSV or get a blank Template to Download.
- Preview the User List, Select, Prioritize, Add Accounts to the Corresponding PST field, Validate, and Import.
Conclusion
In this blog post, we taught users how to open PST files in Office 365 with no data loss. Considering the unavailability of a direct method, the best possible alternative is the automated tool. Its working is simple and results are fast. No need to track the PST delivery like in drive shipping or get lost in complex multi-layer network upload. Moreover, you can conduct a bulk opening of PST files for all users in your organization simultaneously.